Stripe your nails!

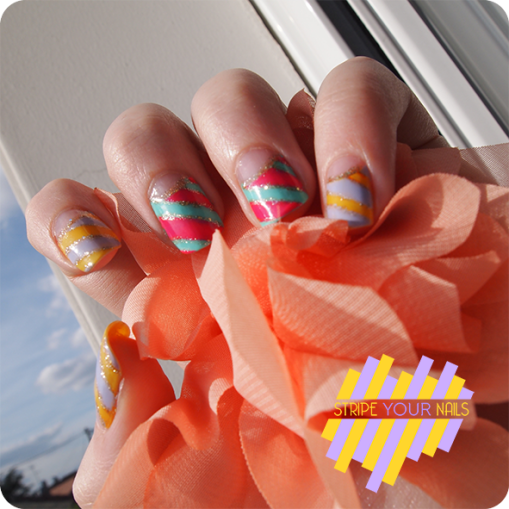
So, this time, i decided to show you a new nail art tutorial, and a easy one (compared to my first one). Just some stripe with some fancy colors and a little bit of glitter…

So let’s get it started!

Step 1:

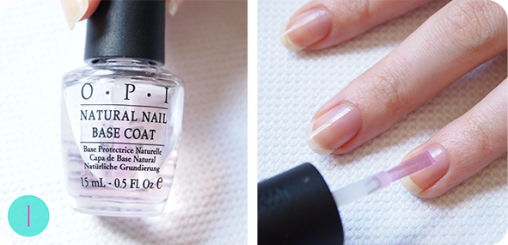
Apply your favorite base coat (here we have the classic OPI) all over your nails.

Step 2:

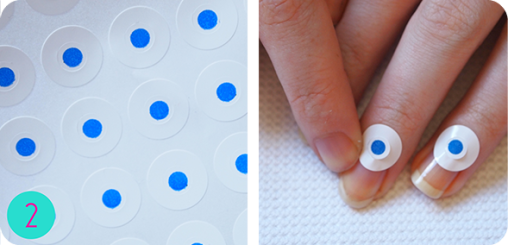
Then use some stickers to protect your nail on their base. Like this, we will be abble to have an half moon manucure! ^^

Step 3&4:

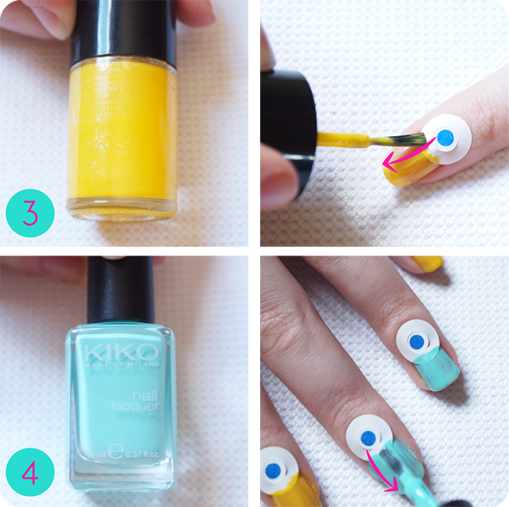
Then choose 2 colors: here we have a bright yellow and a mint/turquoise from Kiko. Aplly it all over your nails alternatively. My rythm was 1-2-2.

Step 5&6:


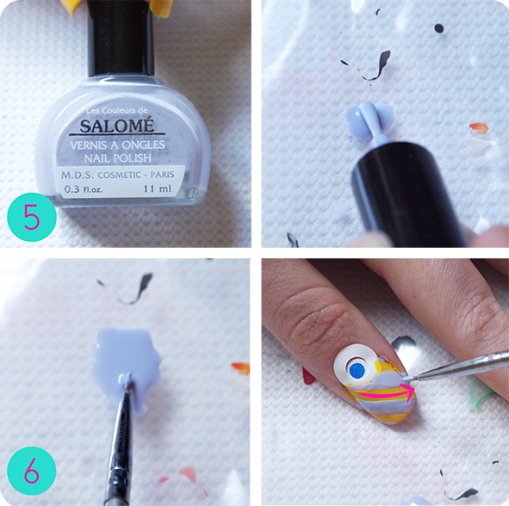
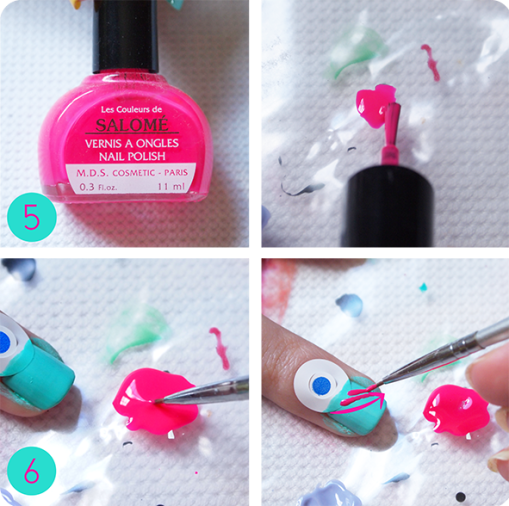
To do the stripe, choose a contrasted color. Lavande for Yellow nails and neon pink for turquoise’s.
You can do the stripe directly with your nail polish brush or as i do, leave a little bit of polish on a plastic sheet and use a really thin brush to make the stripe.

Step 7:

Using a gold glittery nail polish and a thin brush make a line between the stripe. Like this, you will be abble to hide the imperfection of your stripes! ;p

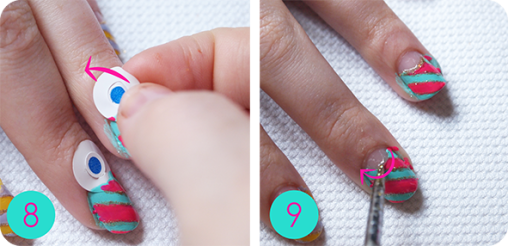
Step 8&9:

Gently remove the stickers and do a thin line of gold on the half moon.

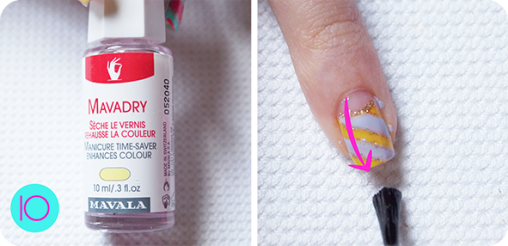
Step 10:

Finally finish with a top coat: i’m using my favorite top coat ever, the Mavadry from Mavala. Remove the polish excess with a q-tip and your done!!!

Enjoy your striped nails! Hope you’ll like it!!!

What was on my nail?

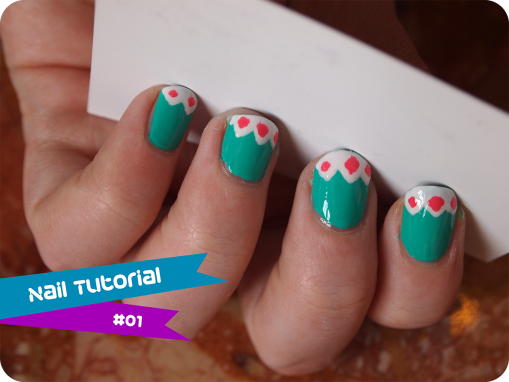
Maybe you noticed my nails on my previous tutorial, so i decide to upload the nail tutorial! \o/

It’s not perfect, i should choose a better one to start, but finally i decide to show you that even it’s not perfect, it’s still fun to have it and people don’t have their eyes on your nails. Be free to try!

Step 1:

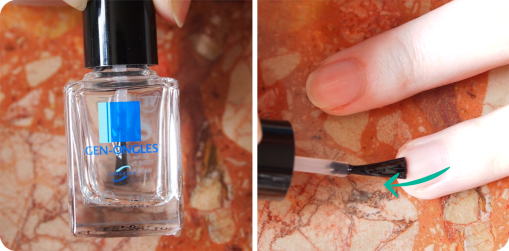
Choose a transparent nail polish as base coat. I’m using a curative one, but use your favorite and apply it all over your nails.

Step 2:


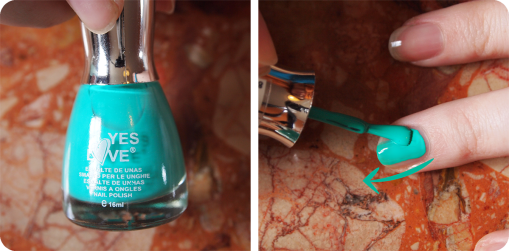
Choose a color, here it’s a fresh mint color from a drugstore brand (1€/ nail Polish) and apply it all over your nails (again). May i advise that 90% of my nail (and makeup) product are durgstore’s  brands, really cheap ones, and i just suggest you to use what you have. No need to have high-ends product to have fun and feel confident! -_^

Step 3:

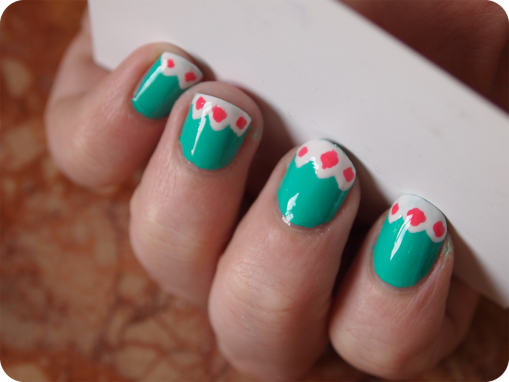
Choose a white nail polish, and with a dotting tool (or bobby pin, toothpick, pencil…) Make some dots to have the shape of this gometric french manucure. After the dots, just fill in with white color, you may need to apply 2 coats for it to be really opaque.

Step 4:

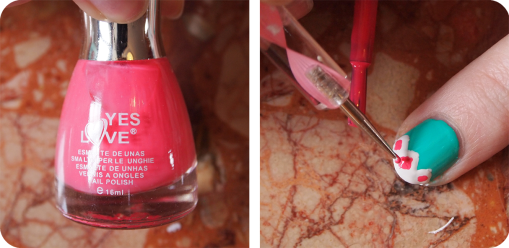
With a coral / pink nail polish, make some square dots on you white shape.

Step 5:

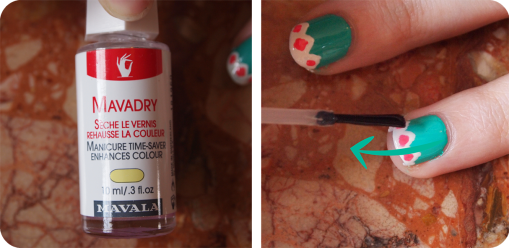
Then use your favorite topcoat to finish your manucure. Mine is the Mavala Mavadry, it’s really a good product and not too pricy… I like it because i’ts help my nail to dry 100% faster and add a beautiful shine on my nails.

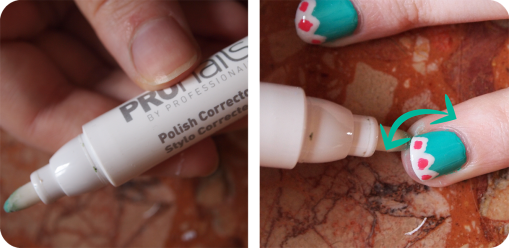
If you’re a professional of nail polish application, you can skip this step. But if you’re more like me, use a polish corrector or swabs with nail polish remover to remove every mistake -_^.

And you’re done!!!

See you next time!!!