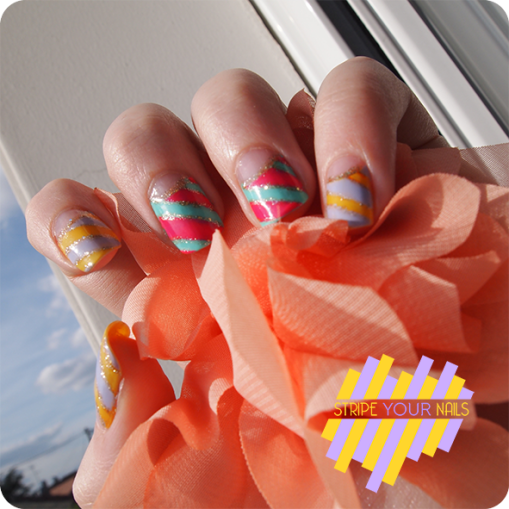
So, this time, i decided to show you a new nail art tutorial, and a easy one (compared to my first one). Just some stripe with some fancy colors and a little bit of glitter…
So let’s get it started!
Step 1:
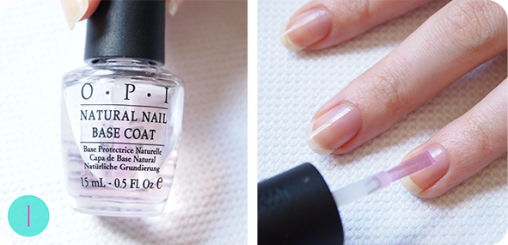
Apply your favorite base coat (here we have the classic OPI) all over your nails.
Step 2:
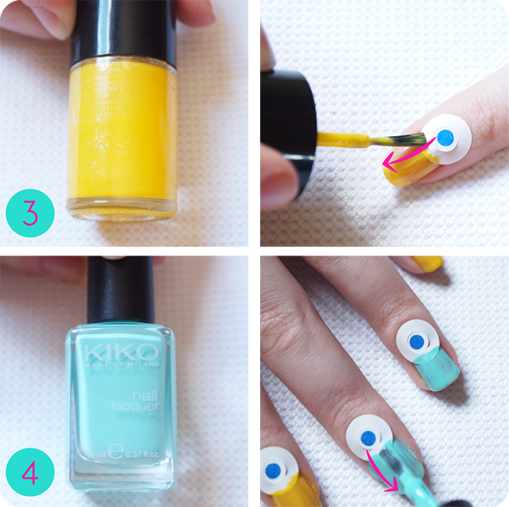
Then use some stickers to protect your nail on their base. Like this, we will be abble to have an half moon manucure! ^^
Step 3&4:
Then choose 2 colors: here we have a bright yellow and a mint/turquoise from Kiko. Aplly it all over your nails alternatively. My rythm was 1-2-2.
Step 5&6:
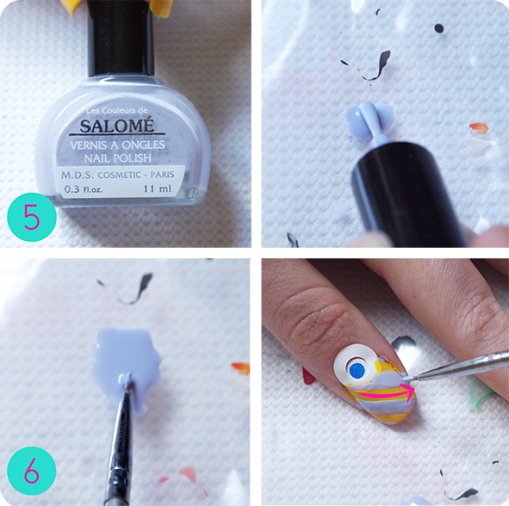
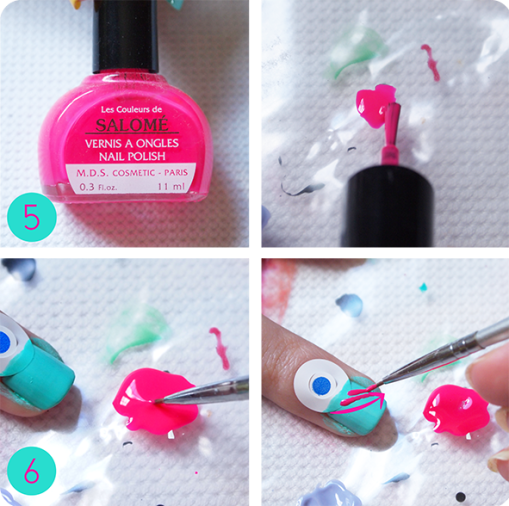
To do the stripe, choose a contrasted color. Lavande for Yellow nails and neon pink for turquoise’s.
You can do the stripe directly with your nail polish brush or as i do, leave a little bit of polish on a plastic sheet and use a really thin brush to make the stripe.
Step 7:
Using a gold glittery nail polish and a thin brush make a line between the stripe. Like this, you will be abble to hide the imperfection of your stripes! ;p
Step 8&9:
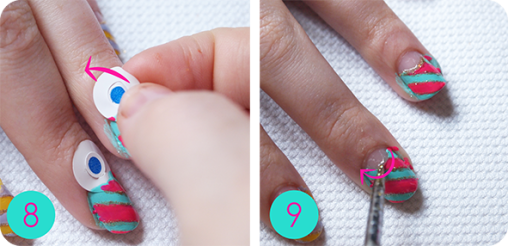
Gently remove the stickers and do a thin line of gold on the half moon.
Step 10:
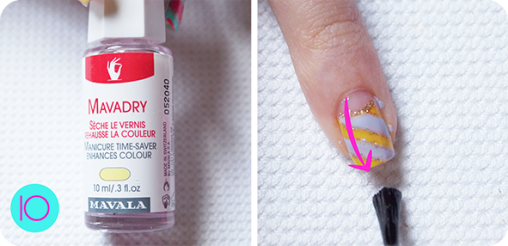
Finally finish with a top coat: i’m using my favorite top coat ever, the Mavadry from Mavala. Remove the polish excess with a q-tip and your done!!!
Enjoy your striped nails! Hope you’ll like it!!!

